
2024.02.13 - [개발 창고/Android] - [Android] How to make round box
[Android] How to make round box
Sometimes when you create a button, you want to create a list or a specific box to display the information inside. In the case of round boxes through images, it is the neatest to apply mainly through xml design because it has the disadvantage of being fixe
royzero.tistory.com
In general, you can apply the figure by calling the shape as a single as mentioned in the previous post.
But there's one constraint that happens when you use it, and that's when you want to draw a line on only one side.
Examples of typical applications are as follows.
- to personalize the input window
- to include a bar that separates the title from the content
- to have a thick bar in front of you, as in the title
It's usually used for 1st and 2nd, but I'll share it with you briefly as a source.
The explanation is not much different from the previous post, so there will be no difficulty in understanding the content.
For your information, the disadvantage is that the background color cannot be applied transparently. (If you know how to solve this problem, please share it Y.Y)
border_under.xml
res > drawable > border_under.xml
<?xml version="1.0" encoding="utf-8"?>
<layer-list xmlns:android="http://schemas.android.com/apk/res/android">
    <item>
        <shape android:shape="rectangle">
            <solid android:color="#202020" />
        </shape>
    </item>
    <item android:bottom="1dp">
        <shape android:shape="rectangle">
            <solid android:color="#fff" />
        </shape>
    </item>
</layer-list>
1. Customized Input Component
<RelativeLayout
    xmlns:android="http://schemas.android.com/apk/res/android"
    android:layout_width="match_parent"
    android:layout_height="match_parent"
    >
    <EditText
        android:layout_width="match_parent"
        android:layout_height="wrap_content"
        android:layout_margin="20dp"
        android:background="@drawable/border_under"
        android:text="Edit"
        android:textSize="40sp"
        />
</RelativeLayout>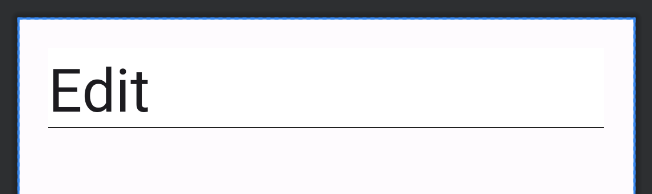
2. Separate titles from content
<?xml version="1.0" encoding="utf-8"?>
<LinearLayout
    xmlns:android="http://schemas.android.com/apk/res/android"
    android:layout_width="match_parent"
    android:layout_height="match_parent"
    android:orientation="vertical"
    >
    <TextView
        android:layout_width="match_parent"
        android:layout_height="wrap_content"
        android:background="@drawable/border_under"
        android:padding="10dp"
        android:text="Title"
        android:textSize="40sp"
        />
    <TextView
        android:layout_width="match_parent"
        android:layout_height="match_parent"
        android:padding="10dp"
        android:text="Contents"
        android:textSize="40sp"
        />
</LinearLayout>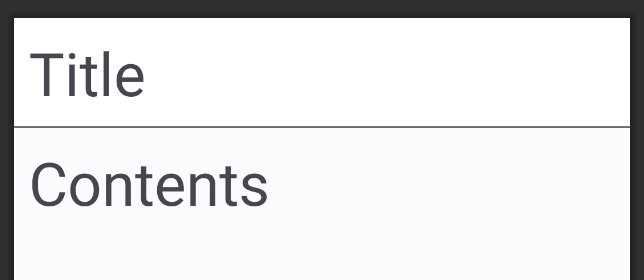
3. Highlight the title bar
res > drawable > bar.xml
<?xml version="1.0" encoding="utf-8"?>
<layer-list xmlns:android="http://schemas.android.com/apk/res/android">
    <item>
        <shape android:shape="rectangle">
            <solid android:color="@android:color/holo_blue_dark" />
        </shape>
    </item>
    <item android:start="10dp">
        <shape android:shape="rectangle">
            <solid android:color="#fff" />
        </shape>
    </item>
</layer-list>
<?xml version="1.0" encoding="utf-8"?>
<LinearLayout
xmlns:android="http://schemas.android.com/apk/res/android"
android:layout_width="match_parent"
android:layout_height="match_parent"
android:orientation="vertical"
android:padding="20dp"
>
<TextView
android:layout_width="match_parent"
android:layout_height="wrap_content"
android:background="@drawable/bar"
android:padding="10dp"
android:paddingStart="20dp"
android:text="제목"
android:textSize="40sp"
/>
<TextView
android:layout_width="match_parent"
android:layout_height="match_parent"
android:padding="20dp"
android:text="내용"
android:textSize="40sp"
/>
</LinearLayout>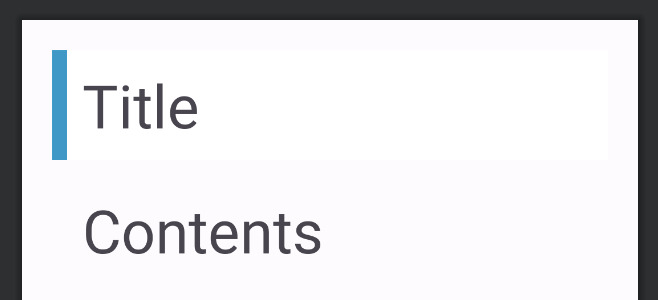
Considerations can be seen in detail in the example, but the disadvantage is that the background color except the bar can look awkward if it does not match the background.
Therefore, one tip is to put one bgColor in res > value > color.xml and match the background color with the background color of the image you create.
[Android] How to use multiple shapes
🇰🇷 Korean
2020.07.23 - [개발 창고/Android] - [Android] Shape를 다중으로 사용하기
[Android] Shape를 다중으로 사용하기
royzero.tistory.com
'개발 창고 > Android' 카테고리의 다른 글
| [Android] How to apply SimpleAdapter to ListView (65) | 2024.03.04 |
|---|---|
| [Android] How to use ArrayAdapter in ListView (55) | 2024.02.27 |
| [Android] 폰트(font) 적용하기 (7) | 2024.02.13 |
| [Android] How to make round box (62) | 2024.02.13 |
| [Android] ActionBar 타이틀 변경과 뒤로가기 추가 - Kotlin (167) | 2024.02.07 |